Setting up slave DNS service for your internet domain name with Posadis in 5 minutes
This Part III in the award-winning "Setting up X DNS for your X with Posadis in 5 minutes" series, we will set up Posadis as a slave DNS server for your internet domain name. Slave DNS servers don't actually store the zone data itself, they get it from a primary DNS server and answer queries on behalf of it to reduce its load. If you want to know exactly what you're doing, I'd advise you to read the Posadis Manual, but this document is meant to get Posadis to work in about five minutes on a Windows machine (though similar instructions also apply to Linux, FreeBSD, and other operating systems Posadis runs on).
This document will also describe what measures to take to set up Posadis as both a DNS server for your internet domain name and for your local network.
Installing Posadis
You can download the latest Posadis from the Posadis download page. Just fetch the latest Posadis exe, at the time of writing posadis-0.60.2.exe. Install Posadis by means of the well-known "Next"-clicking sequence.
Now, if you want to use Posadis as a caching DNS server for your internal network as well as as a server for your internet domain name, you'll want to follow the instructions in the "Setting up DNS for your local network with Posadis in 5 minutes" guide, except for the part in which it says you should edit your Posadisrc file. In this document, we're going to edit the Posadisrc as well, albeit in a slightly different way.
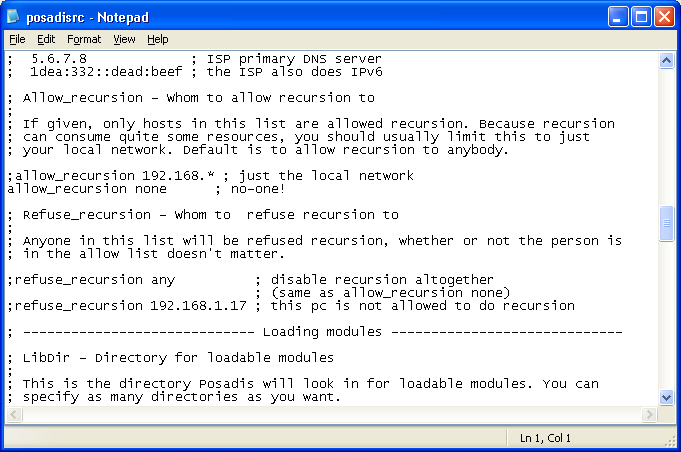
So, in any case, click the "Edit Posadisrc" entry in your Posadis Start Menu Folder, after which the Posadis configuration file opens up. Look for a line containing "allow_recursion none" (line 109 in Posadis 0.60.2). If you want to use Posadis for your local network as well, remove the semicolon in front and edit it to match your local network (in the example, "192.168.*" means any IP number of the form 192.168.a.b, so for example if you use 10.0.0.a addresses for your local network, enter 10.0.0.*). If you don't want to use Posadis for your local network, just remove the semicolon in front, after which it should read something like:
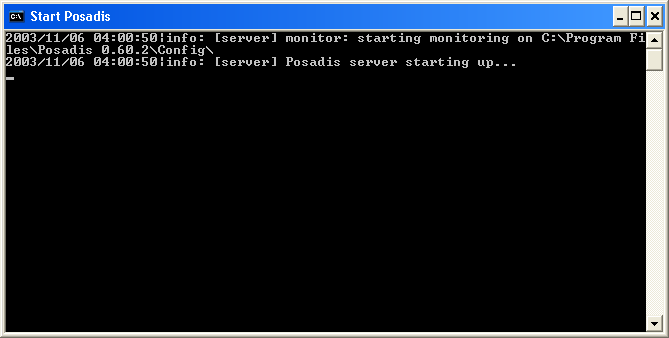
Allright, we're ready to start Posadis now. Click the "Start Posadis" entry in your Posadis Start Menu folder, and Posadis will start running:
Setting up slave domains
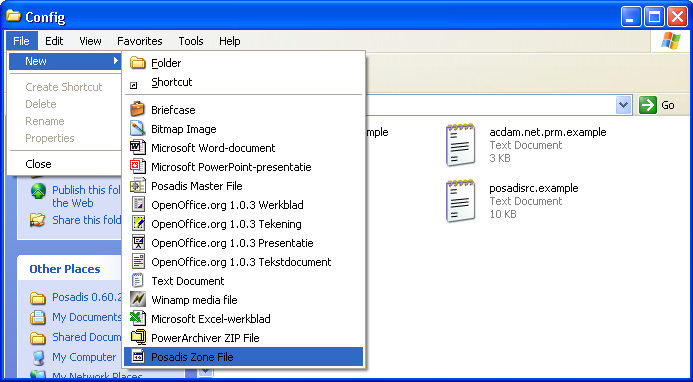
Allright, now, in the windows of Posadis we have running, we see a message "starting monitoring on C:\Program Files\Posadis 0.60.2\Config\", or something like that. Now, this is the directory we're going to create a zone configuration file in, which will contain the configuration for our own domain. In this example, we're going to set up the "acdam.net" domain. We're going to create a zone configuration file named "acdam.net.znf". We do this by going to the configuration directory with the Windows Explorer, and choosing to create a new zone file there:
Now, if you disabled the "Hide file extensions for known file types" option of Windows Explorer (which is always one of the first things I do after installing Windows, but not many people seem to agree with me on this), you'll want to enter "acdam.net.prm", but usually, just enter "acdam.net".
Now, double-click on the master file to see Notepad popping up. In the notepad window, we're going to enter just two lines to make out slave operational:

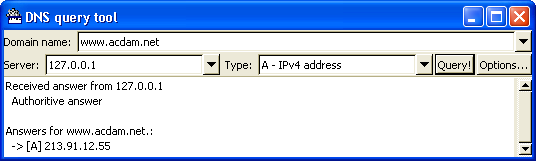
In this case, we have only one master, but we might also have entered "masters , " if we had two. Save the file, and verify that Posadis now (or after some time, when it has transfered the zone) answers queries using the DNS query tool, which you can run from the Posadis Start Menu group:
Setting up Posadis as a service
Now, as a finishing tough, we're going to set up Posadis to start as a Windows service once the computer starts, so we don't have this "Start Posadis" window anymore. This will only work on Windows NT-based operating systems such as Windows 2000 and Windows XP. On Windows 95, 98 and ME, you'll just have to live with the Posadis window currently.
Close Posadis by opening the window and pressing CTRL-C, and choosing "Y" when it asks to close the batch job. Now, choose "Install or remove service" from the Posadis Start Menu entry, and fire up the Windows service manager (under Windows XP, this is done by choosing "Performance and Maintenance -> Administrative Tools -> Services" in the Control Panel), and we see Posadis is added there:
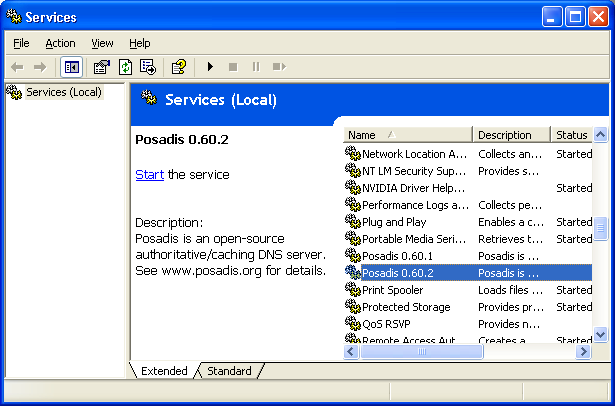
Posadis is set to start up on boot now, and you can start, stop and restart Posadis from the service manager.
More information
If you have problems setting up Posadis, a good place to look are the Posadis Forums, and the Frequently Asked Questions.
Questions about this document can be directed to .